
Today I am talking about Filmora, a powerful video maker, video editor as well as a screen recorder.
When I used the Filmora snapshot feature to capture a frame of my video for the first time, I had no idea how to save the captured image!
This really made me crazy about that!
Actually, this is much easier than what I have expected!
Let’s see how to do that!
I am now working on a video project in Filmora 。
While playing a video in the preview window, you can take a snapshot of any frame.
To take a snapshot, simply pause the video to the frame you like. Then click on the camera button in the lower right corner of the preview window.
The snapshot image will then be added to the Media Library.

To save the image, the first idea that comes to my mind is: right click the snapshot image. Then looking for the “Save Image” menu.
Surprising enough! There is no such menu!
Hey! How can I save the snapshot image?
This probably makes some people crazy! At least, I am the one when I used this feature for the first time!
Oh….. my god! Actually, Filmora is so clever and smart enough to save the snapshot image for you…. automatically.
Now, look at the pop up menu again carefully. You should notice the “Reveal in Explorer” menu. A really strange menu name, I must say, I never think that this is the location where the snapshot image is saved for me!
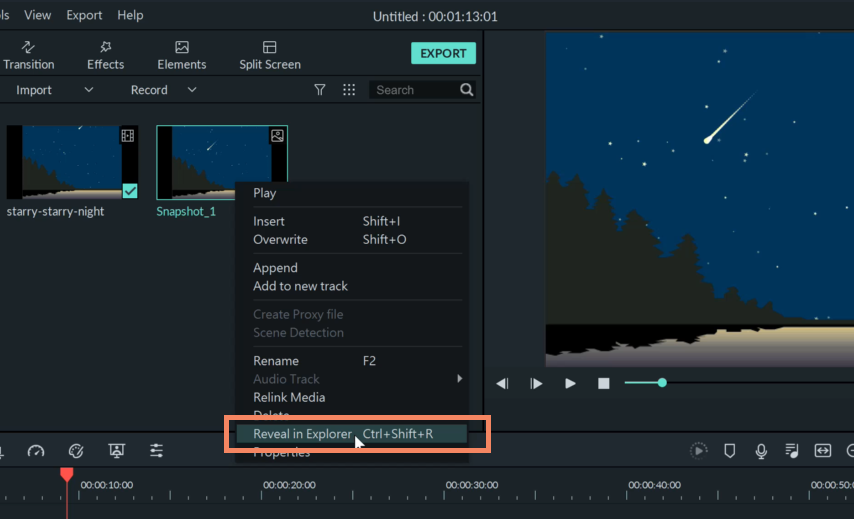
But it did!
Now, click on the “Reveal in Explorer” menu.
Look at that! The snapshot image is already saved here!
Alternatively, the snapshot image can also be found at the following path in Window Explorer, whenever you want to use it:
Wondershare Filmora /User Media/Snapshot
That’s it!
Isn’t it simple and easy!
Thanks for watching!
Hope that you may find this video helpful.
Please subscribe, if you like my YouTube channel.
Leave a Reply