A blog is actually a website which can have a variety of subjects. The most popular blogs are those that serve as personal diaries. Unlike a personal diary, a blog is open to everyone to read and can even provide a place for public comments and feedback. Everybody connected with the Internet can share your personal interests, special events, daily activities or even secrets. This is what has made blogs develop so rapidly in the past few years.
Since Pyra release Blogger in August 1999, it has become the most popular blogging tool due to the ease of use, free to use and with a lot of features.
Blogger comes with a lot of default templates and layouts. However, most users like to customize the default Blogger templates and layouts to give their sites a different look from the others. Some users even customize the default Blogger to look like a website. This website provides some basic guidelines on how to customize a default Blogger template and layout.
Customize Blogger Templates with Dreamweaver
The easiest way to customize Blogger templates and layouts is to use Adobe Dreamweaver. Most of our Blogger tutorial series use Dreamweaver.
Blogger Templates Customization Tutorials
Our tutorials starts from how to create a Blogger blog, then steps by steps to customize a default Blogger template.
Table of Contents
How to Create a New Blogger Blog
To start your own blog with Blogger, the first thing to do is create a new blog. Let’s create a new blog step by step:
1. Login your Gmail Account
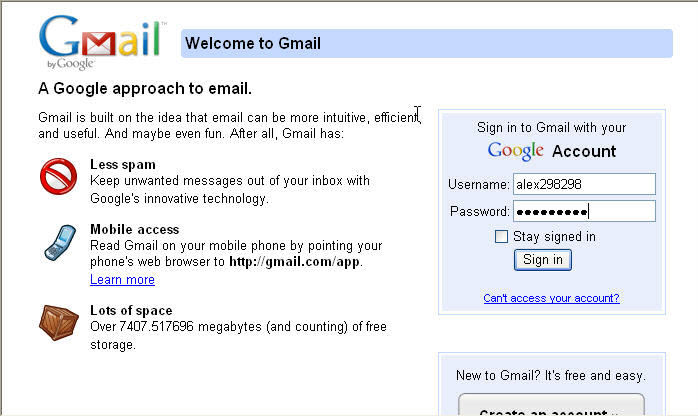
2. Navigate to Account Screen of Gmail Account.
3. Click on the Blogger link.

4. Click on the Create a Blog link to create a new blogger blog.

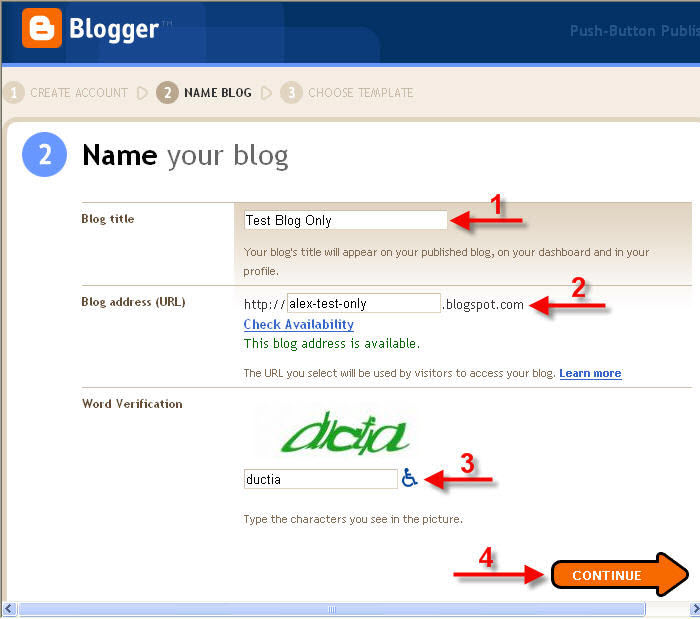
5. Name your Blogger blog.
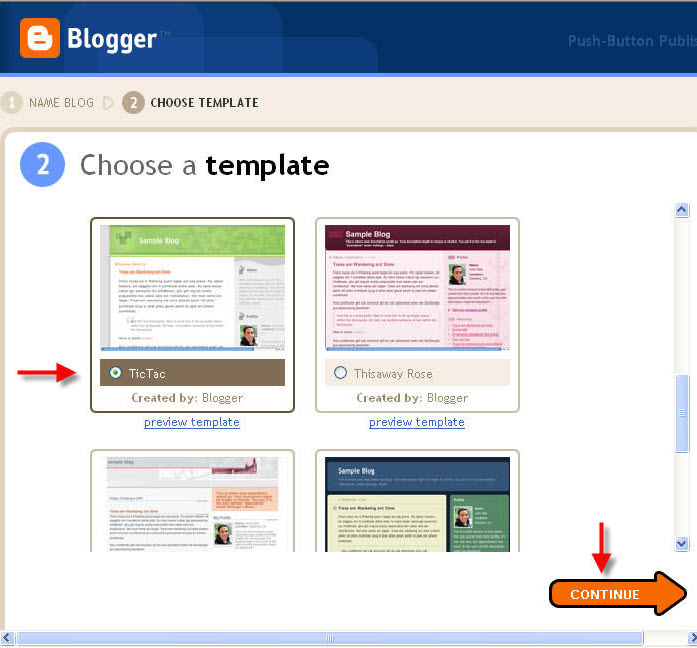
6. Choose a Blogger Template you like. We choose Tic Tac Blogger template in this tutorial.
7. Your first Blogger Blog has been created successfully.

8. Your first Blogger blog has been created. You can start blogging now.
How to post on Blogger Blog
Your new Blogger blog has been created in the first tutorial. Before start customizing the template and layout, this is better to start posting on your blog to see how it works.
1. Click on the START BLOGGING button to start posting on your Blogger blog.

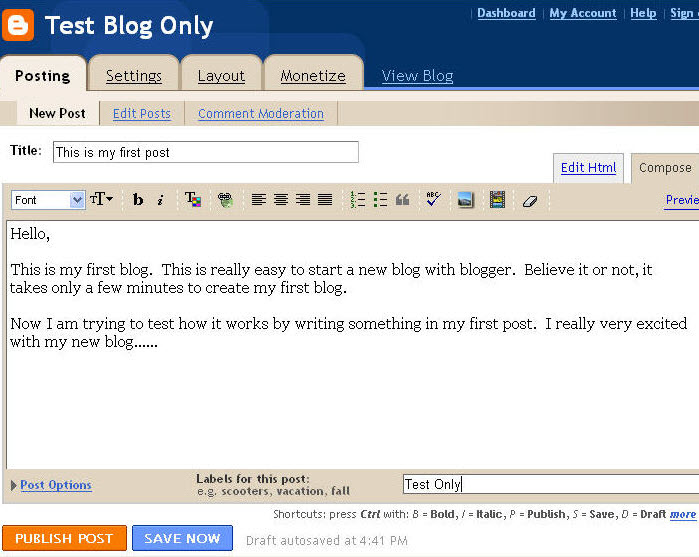
2. From the Blogger Dashboard screen, navigate to Posting tag -> New Post.
3. Write the Blog Title, Contents and provide a Labels for this post. Then click on the PUBLISH POST button.
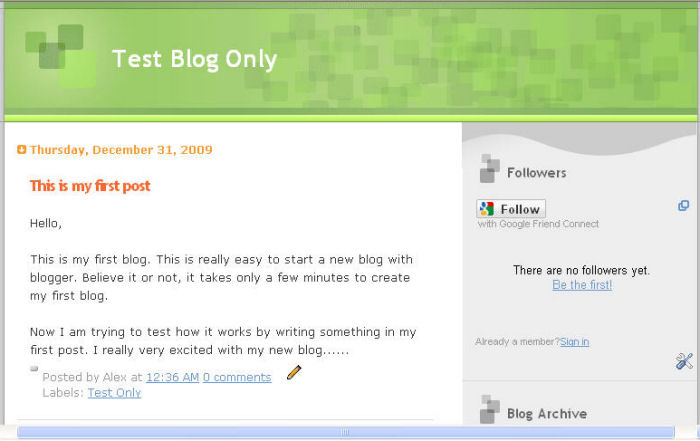
4. If you see the following screen, your first Blogger blog post has been published successfully.
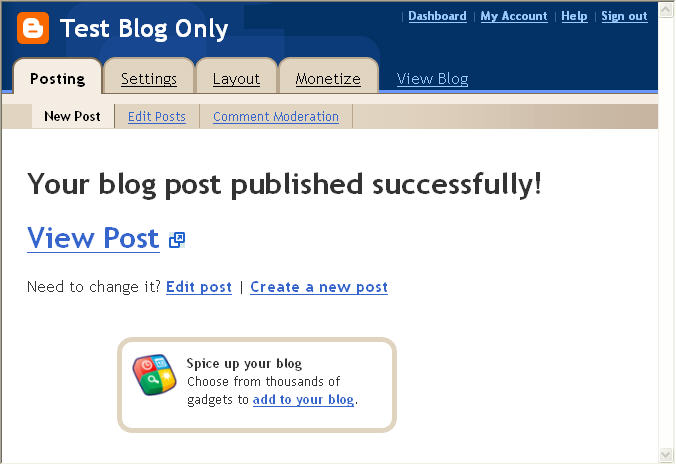
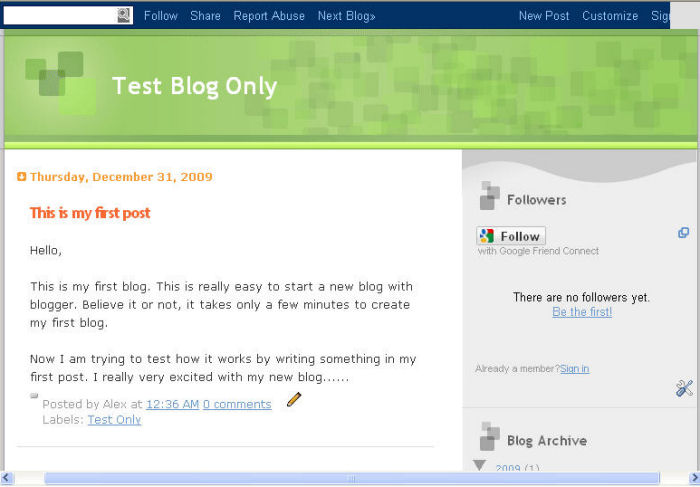
5. Click on the View Blog link to see how your Blog looks. Hm… this is very attractive!

5. Now you know how to post a new post. And you also have some ideas about the layouts of the Blogger template.
6. This may be time to think how to edit the layout and appearance of your blog template.
How to modify the theme of navbar
The most uncomfortable feature of Blogger should be the blue bar (navbar) on the top of each blog. One of the possible way to make it look better is blend the navbar with your website.
1. Click on the Customize link on the navbar.
2. The Layout of Blog appear. Click on the Edit link of the Navbar.
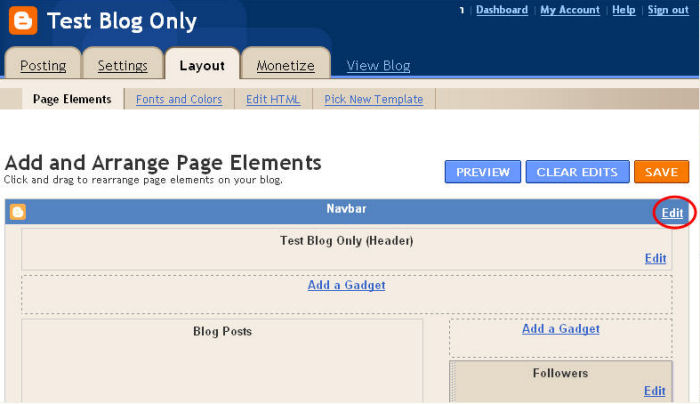
3. The Navbar Confguration screen will appear as shown below. Select the best color theme of the navbar to match your Blog.
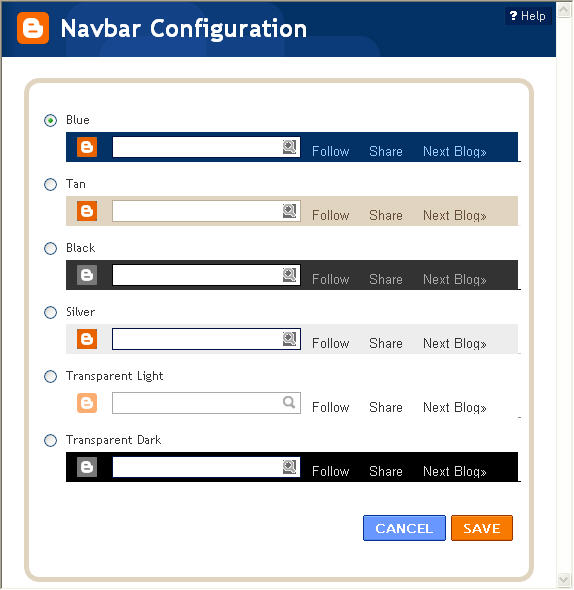
4. Click on the SAVE button to save the changes.
This Blogger tutorial shows how to modify or change the theme of navbar.
How to hide the navbar
If you are still unsatisfied with the result after changing the theme of the navbar, you may consider to hide or remove it. The Blogger navbar can be hidden so far Google can accept that.
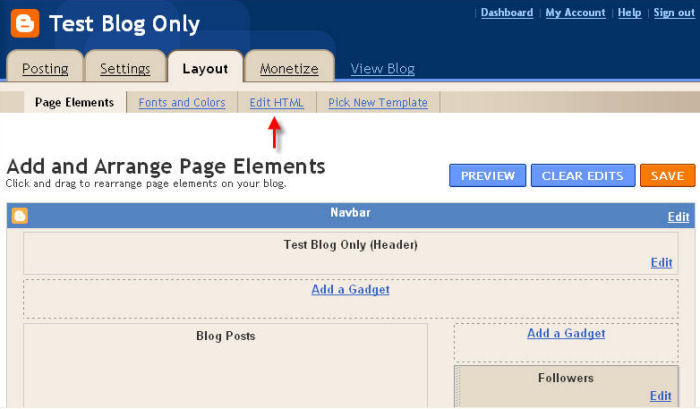
1. You are still in the Blogger Layout Tag. Click on the Edit HTML link.
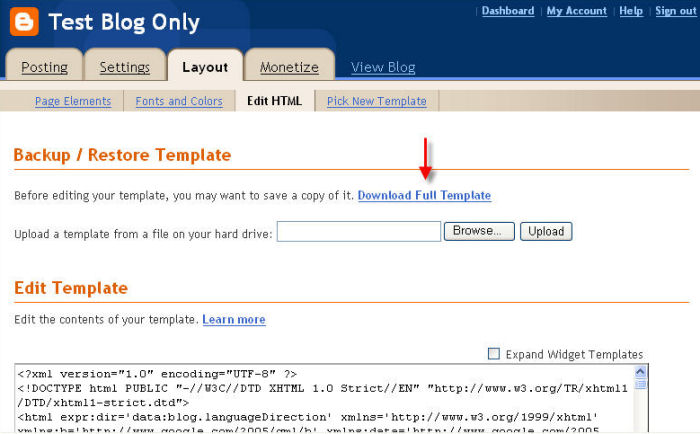
2. Before you edit the HTML codes of blogger, remember to backup the file. Click on the Download Full Template link.
4. Insert the following single line of code as shown in the diagram below:
#navbar-iframe {height:0px;visibility:hidden;display:none}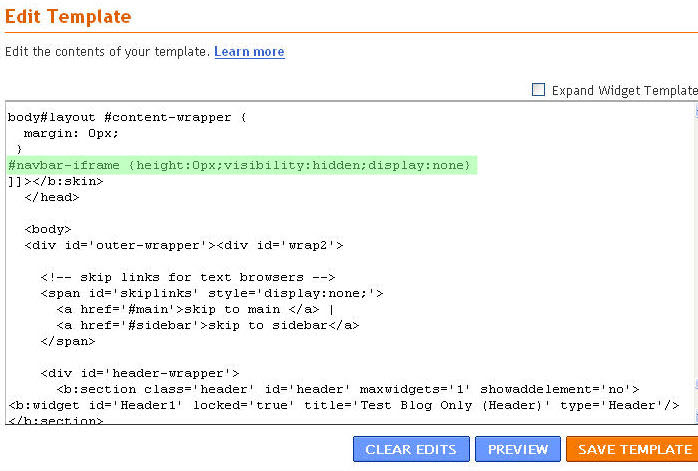
5. Click on the SAVE TEMPLATE button to save the changes.
6. Click on the View Blog link to see the blog.
7. Look! the Navbar had gone.
8. Remove or comment the above line of code if you wish to resume the Blogger Navbar.
Note:
Since the Customization link in the Navbar will also be hidden. This is better to use another browser to view the chnages of blog. Otherwise you have to navigate back to:
This tutorial shows how to hide or remove the Blogger navbar.
How to delete a Blog
Before we start customizing the Blogger template, let’s show how to delete a blog that no longer in use.
1. Go to Blogger under your Google Account.
2. From the Blogger Dashboard, click on the Setting link of the Blog that you wish to delete.
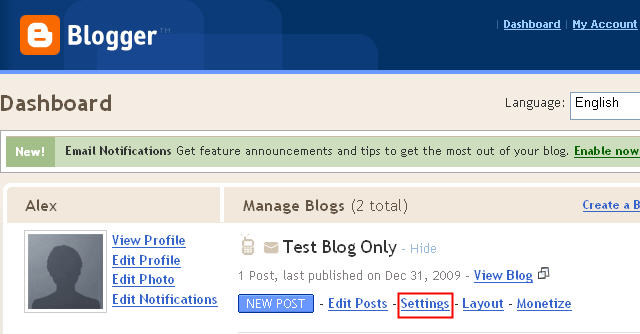
3. The Settings window appear. To delete the blog, click on the Delete blog link under the Basic tag.

4. If you decide to delete this blog, click on the DELETE THIS BLOG button.
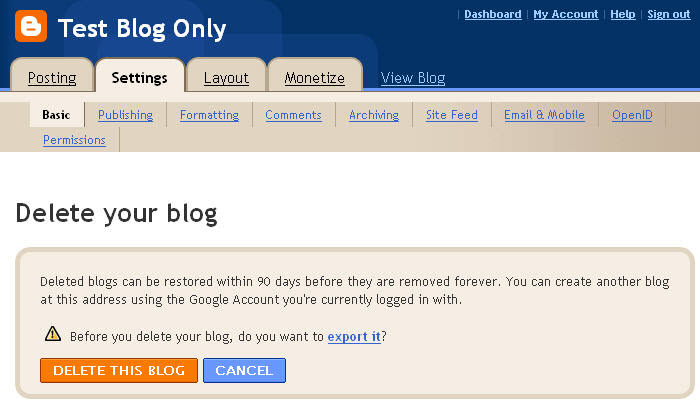
5. The Blogger blog had been deleted.
Leave a Reply