WordPress software should be the most popular platform for blogging nowadays. If you wish to set up your own blog, WordPress should be your first consideration. This extensive WordPress tutorial series include a wide range of topics – installation, customization, creating WordPress Child Themes, etc.
Table of Contents
What is a Blog
A blog can be think of a personal diary. Unlike the traditional diary that we used to record down our daily activities in a book in our childhood, a blog is open for everybody to read on the Internet. Some blogs on the Internet are focused on a particular topic, such as fishing, traveling, web page design, make money online, stock investment, etc… While many blogs are just a personal journals, recording down the daily activities, thoughts and opinions of the bloggers.
This is true that many people with all ages have their own blog on the Internet. If you are looking for a job now. The interviewers may probably asking to read your blog. If you have an active and good blog, you probably have a greater chance to get a good job over the other applicants without a blog.
WordPress software should be the most popular platform for blogging nowadays. If you wish to set up your own blog, WordPress should be your first consideration. WordPress is easy to install and customize.
Download WordPress Software
The first step to set up a WordPress blog is go to the official website of WordPress to download the installation kit. The download URL of WordPress software is:
http://www.WordPress.org
The latest version of WordPress software is currently v3.2.1 by the time of writing this WordPress tutorials.

Note:
Don’t mix up WordPress.org with WordPress.com. WordPress.org provides open source blogging software that blogger can install on their hosting, i.e. self-hosted WordPress. While WordPress.com is providing free blogging platform online same as Blogger.
Download and extract WordPress software to your local computer. The file size is only 9.41 MB.
Installation of WordPress Software
Actually WordPress can easily be installed by using cPanel Fantastico. However the software installed by cPanel Fantastico is usually not the latest version. Therefore this is better to install the latest version (v3.2.1) of WordPress manually.
Let’s install WordPress software on a hosting account now.
Installation of WordPress on Hosting
The latest version (v3.2.1) of WordPress software was download from WordPress.org local computer in previous tutorial. It’s time to install WordPress on a web hosting account in this tutorial.
Step 1: Create a new MySQL Database and User for WordPress
Let’s create a new MySQL Database. The installation of WordPress software require a MySQL Database. Also create a new user to use the Database. Remember to grant privilege for the user to use the WordPress Database. All these steps can easily be done with PHPMyAdmin as shown in the diagram below.

Step 2: Upload Files to Hosting
Uploading all files of WordPress to the home directory of hosting account. Remember to maintain the files and directory structures.

Step 3: Open the Install Web Page
Everything is ready. Let’s start installing WordPress by accessing the install web page at:
http://www.YourDomainName.com/wp-admin/install.php
The following screen will appear:

Click on the “Create a Configuration File” button. The next screen will advise you about the database information.

Don’t worry, the new Database and user have been created in Step 1.
Click on the “Let’s go!” button.
Step 4: Enter the Database and User Information
Just fill in the Database and user information that created in Step 1.

Click on the “Submit” button when the Database and User information are entered.
If the information are correct and everything goes well, the following screen will be shown:

Simply click on the “Run the install” button.
Step 5: Enter Blog and Admin Information

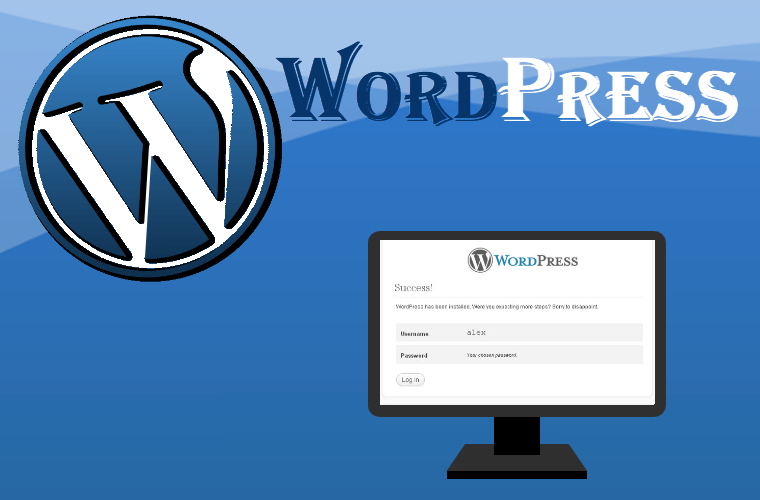
Step 6: Installation Success
The installation of WordPress is finished and success if the screen below appear.

Now WordPress was installed successfully on my hosting account. The next step is to see how to customize the default WordPress theme, and how to manage the WordPress blog.
WordPress Default Template and Login Admin Panel
The installation of WordPress v3.2.1 is finished. Let’s take a quick look at the default template of a new WordPress blog.

Hm… The default template of WordPress v3.2.1 seems not very good. Actually most bloggers don’t like the super big banner at the Header that occupy most of the space at the top.
It’s time to log in the WordPress Admin Control Panel to see how the interface looks. The Admin Login Area can be accessed at:
http://www.YourDomain.com/wp-login.php, or
http://www.YourDomain.com/wp-admin/
The interface of WordPress Admin Control Panel is very clean and simple.

Since we have been doing template customization for portal websites, for example, osCommerce, phpNuke, etc, for many years, the Admin interface of WordPress looks quite familiar to us. Actually most bloggers should get acquaint with the Admin interface in a very short time.
In the coming tutorials, we will see how to manage the newly installed WorPress blog and how to customize the default WordPress template.
Leave a Reply